
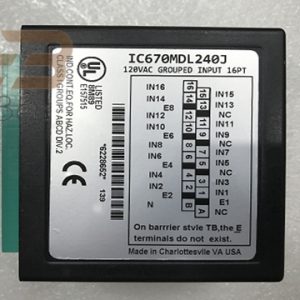
.png)
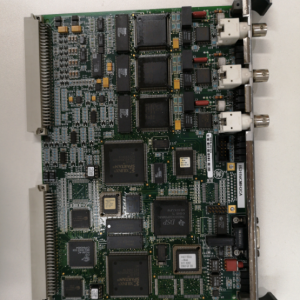
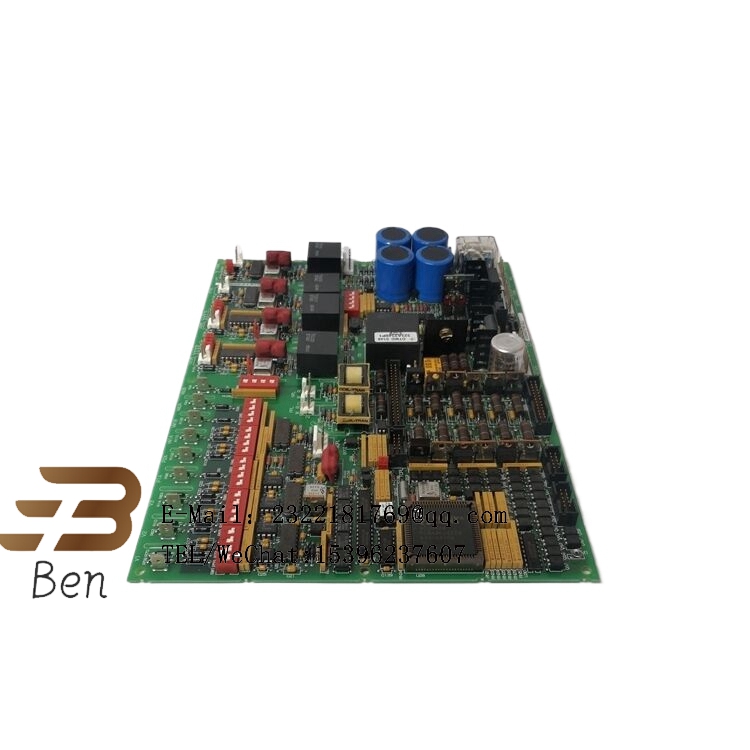
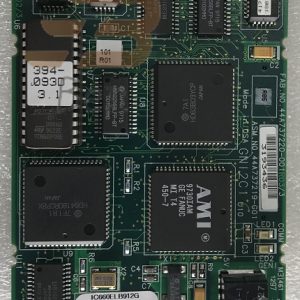
DS200SDCCG4AHD Drive control panel
The GE drive control board DS200SDCCG4AHD is the primary controller of the drive. The GE drive control board DS200SDCCG4AHD is equipped with three microprocessors and RAM for simultaneous access by multiple microprocessors. Each microprocessor has its own set of functions that enable it to perform a specific type of processing, and the microprocessor can perform all drive control functions together.
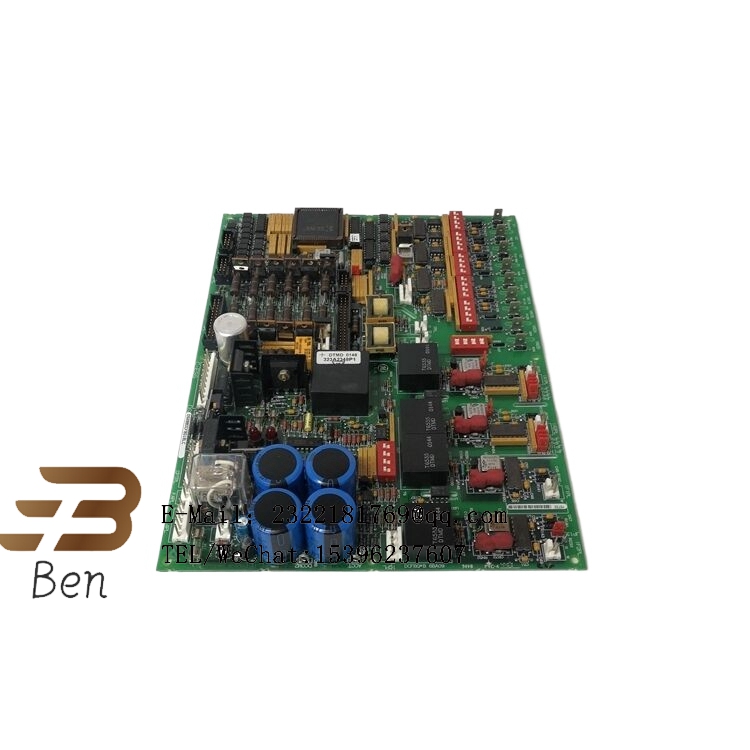
The replacement board contains five empty EPROM connectors into which you can insert the EPROM of the defective board. Always wear a wristband when touching EPROM modules, as they are susceptible to static electricity. Use your thumb and forefinger to remove the chip from the connector without dropping the module. Plug it directly into the same connector on the replacement board. Four of the modules contain factory-defined configuration values and one contains site-defined configuration values. If necessary, you can use the drive configuration tool installed on your laptop to edit the configuration. You can use a serial cable to connect the development board to your laptop and access the file. Before making a serial connection, ensure that the serial terminal is configured correctly and that the cable is plugged into the correct port on the laptop. Also, make sure the connector is fully secured in the connector. As part of the replacement, you must also move the optional card from the old board to the replacement board. Use a screwdriver to unscrew the card and unplug the cable. Align the card with the bracket on the replacement board and insert the screws. Also, reconnect all cables on the card to the new board. 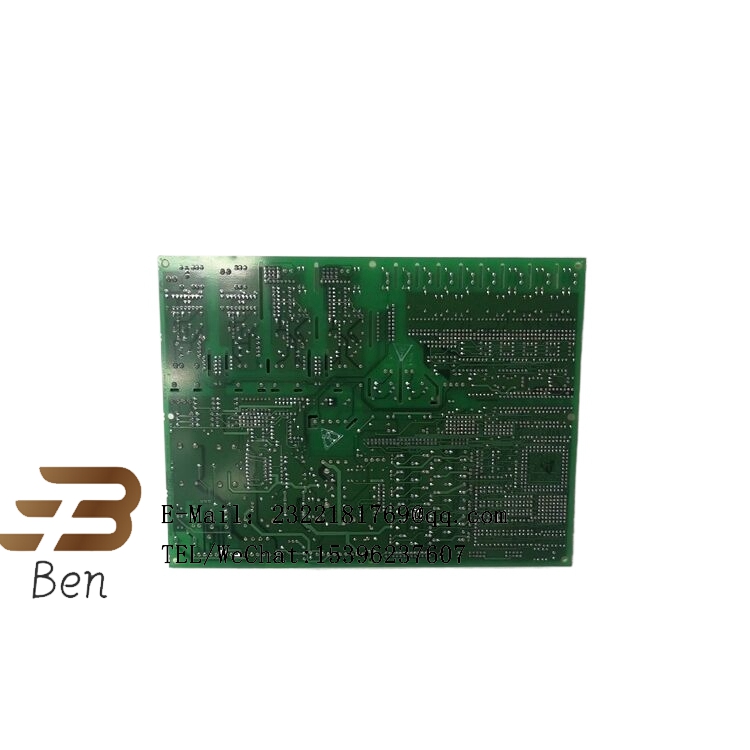
Reviews
There are no reviews yet.